Greeting fellow crafty friends. Today, I present to you my latest brainstorm- "Honey goes north!".
Using The
Elizabeth Craft Design (ECD) die Ring Accordion, I cut four rings. I cut out the center from two and set them aside. I then glued the second ring to the first to create a more stable ring. I attached the two rings together. Since this was a white on white challenge to myself, I needed to focus on textures and embellishments to help me. I used Stickles in Icicle on the rings and let that dry(I hope this is not cheating since there is a slight pinkish tinge to the Stickles). Using the ECD All Seasons Tree snowflakes, I cut out many snowflakes. Once the Stickles was dry, I glued the snowflakes on the ring for a wintery frame.
Next, I wanted to find the perfect white buddy for the card. North, white, a fox maybe? No, a polar bear! I used the Honey the Bear die from ECD and cut him out in white. I used a bit of Wink of Stella on the body for a highlight and to deal with the eyes, I cut out a pair of glasses from the Props 1 set using white glitter paper. I cut another pair in regular white cardstock and covered the lenses with Glossy Accents. Once all was dry, I assembled Honey the White and had him hold a snowflake that I cut out using the ECD Snowflakes set.
Now I took the two leftover circles and embossed them with a snowflake embossing folder from Crafter's Companion. I glued the circles on the card and added Honey on the left side. Lastly, I die cut Season's Greetings three times (once in Glitter White and twice in white cardstock) and glue them together for depth and mounted the sentiment on the right circle. I attached the inner circles together and the card was completed. I hope you enjoy it.
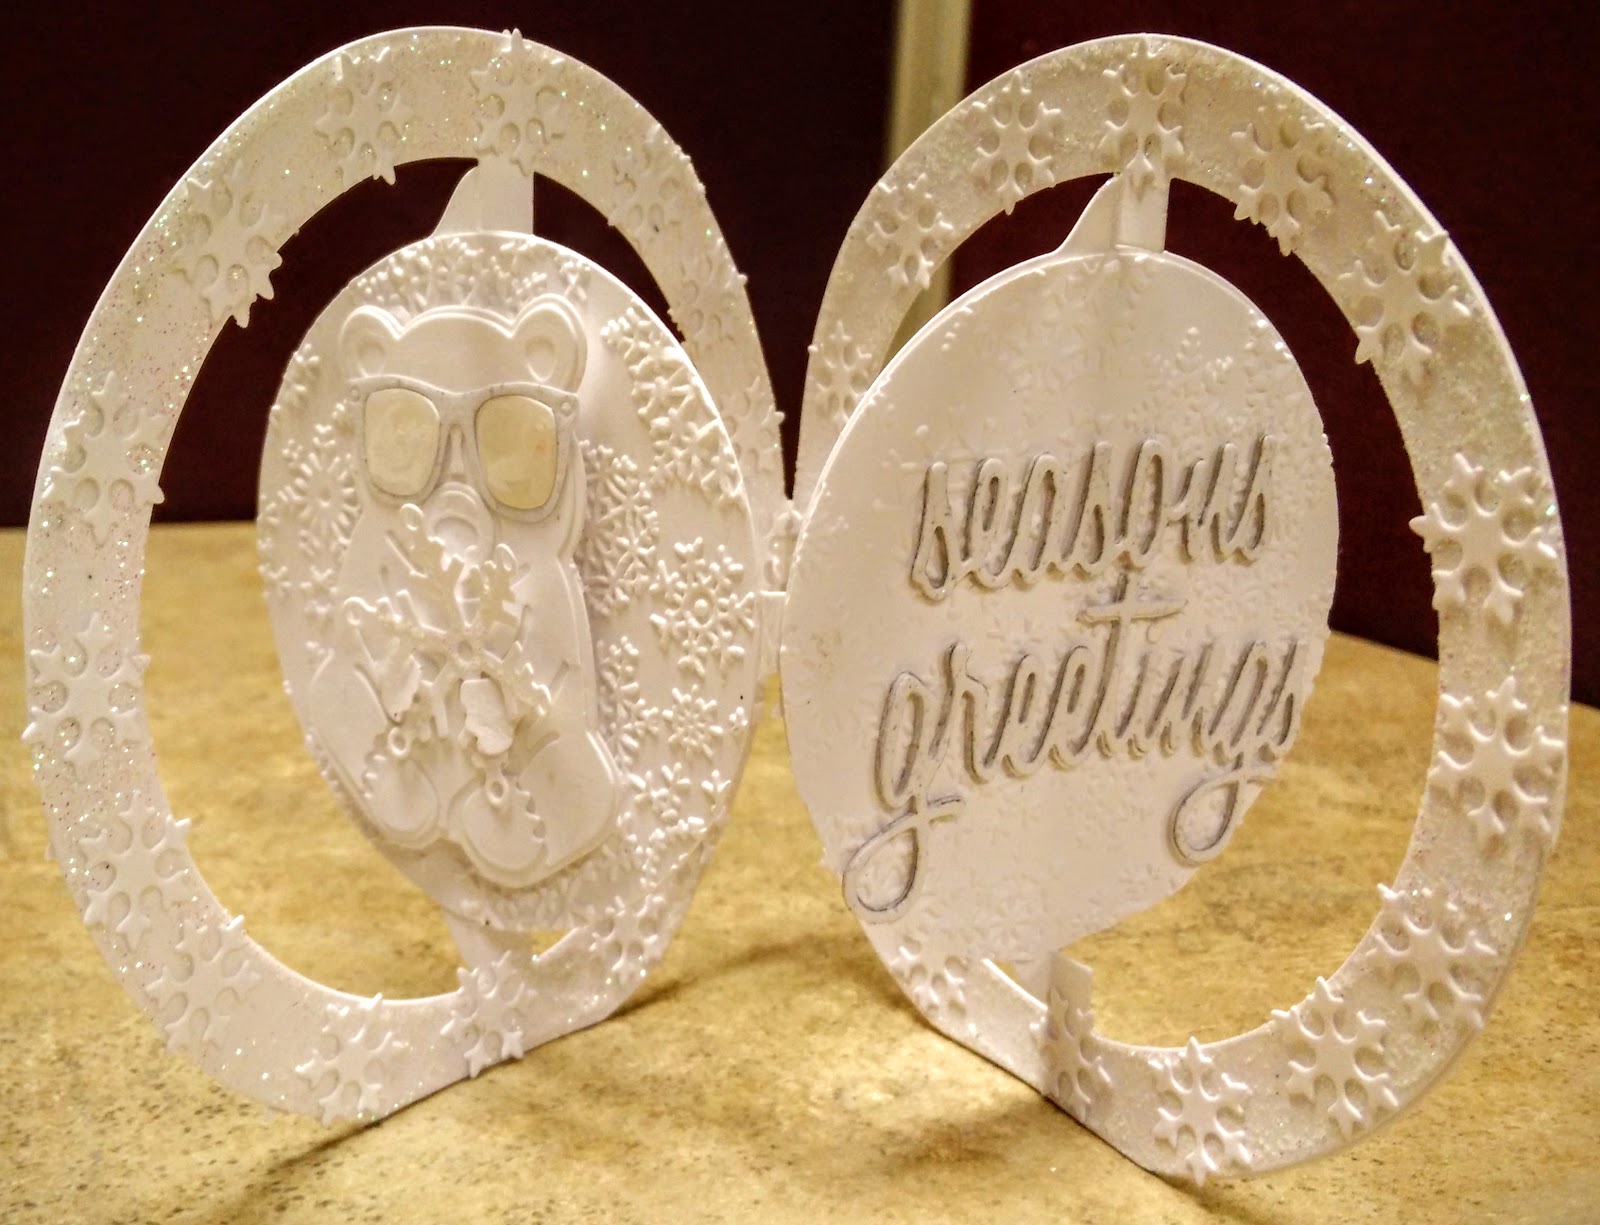
The closed card.
The open card.
Have a great day and keep on crafting.